How to Install .DLL Files
Learn how to install DLL files in just a few minutes using simple, step-by-step instructions.
Install to Windows System (Most Popular)
This is the most common method for installing a DLL and works for most users. Simply copy the DLL into the correct system folder below. If a file with the same name already exists, make a backup before replacing it.
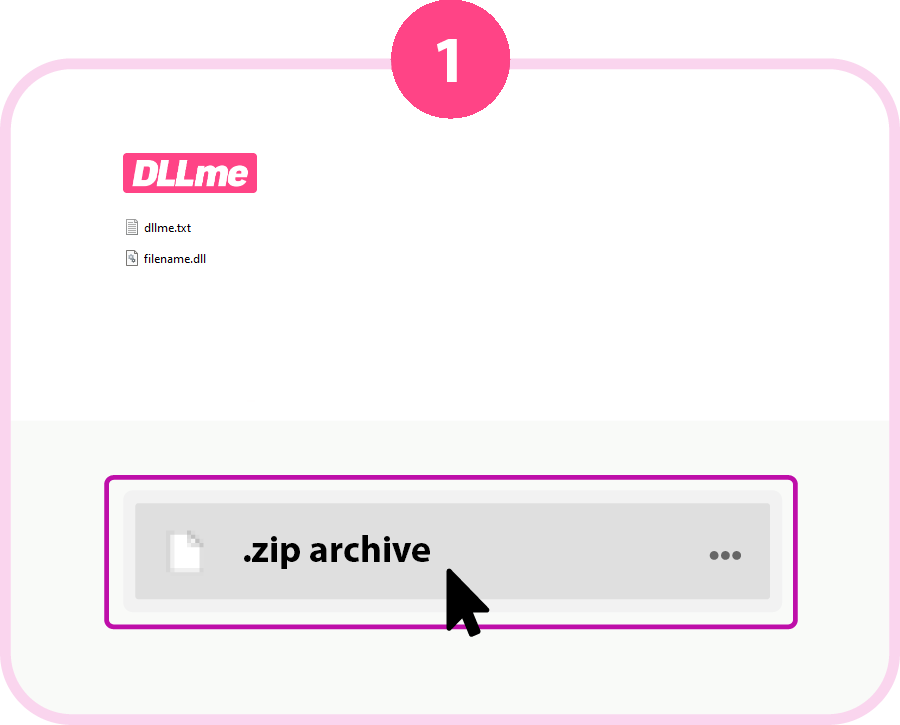
.dll file.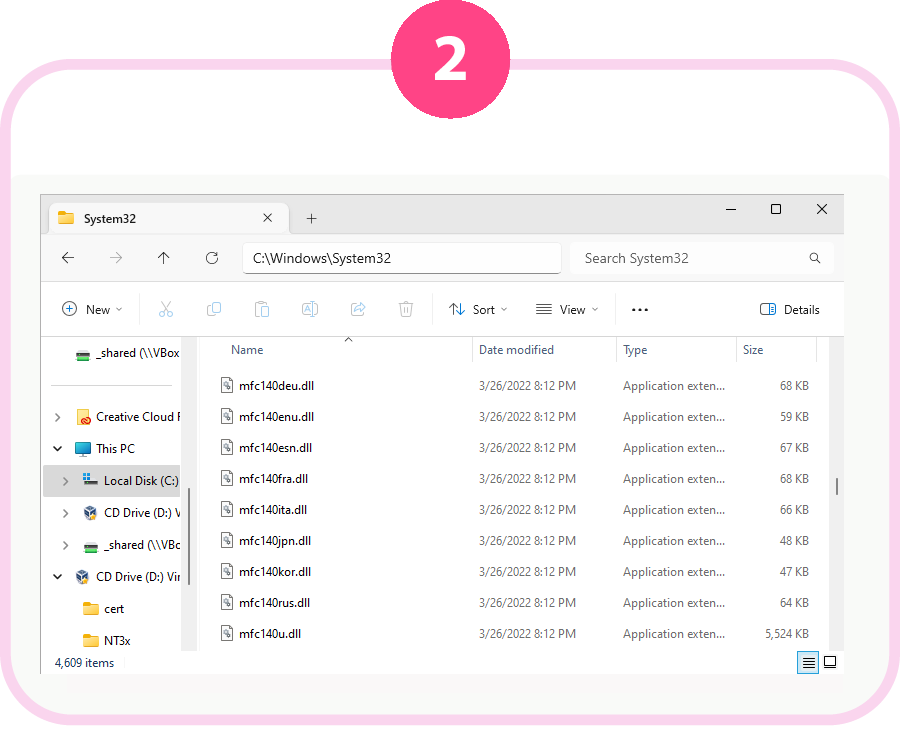
32-bit →
C:\Windows\SysWOW64
64-bit →
C:\Windows\System32
C:\Windows\System32 and the 32-bit DLL into C:\Windows\SysWOW64. Windows will automatically use the correct one for each program.Install to App Folder (Optional)
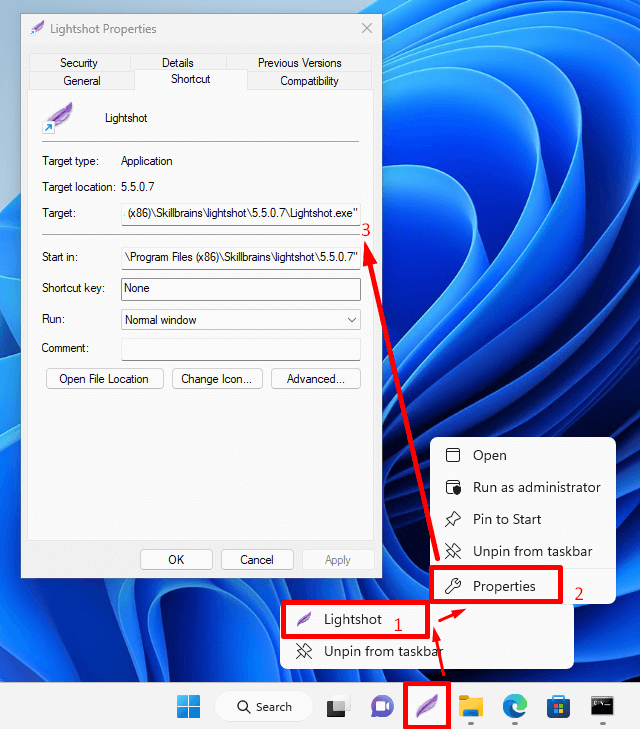
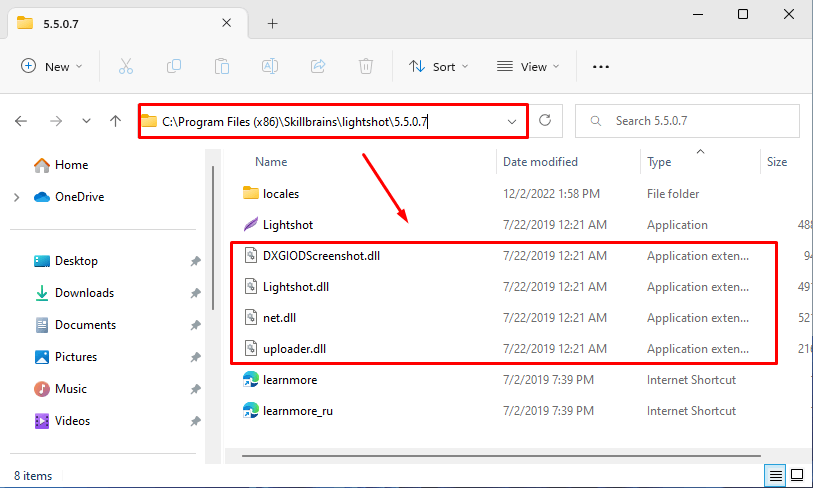
Place the DLL directly next to that program’s .exe file, ensuring the app loads it from its own folder. This keeps the DLL separate from other applications and helps prevent version conflicts.
.exe. Some apps use a \plugins or \dlls subfolder.
Register / Unregister (If Required)
Some DLL files need to be registered so Windows can recognize and use them. Most modern DLLs load automatically and don’t require this step. Learn how to register DLL files.
regsvr32, or if you see an error such as “Class not registered” or “ActiveX component can’t create object.”When to Use Redistributables
Official redistributables are setup packages released by trusted software vendors that automatically install groups of related DLLs. These include common frameworks such as Visual C++, .NET, DirectX, and other runtime or platform components. Browse available packages on the Official Redistributables page.