Why antivirus flags DLLs
- Heuristics: new or uncommon DLLs may trigger “suspicious” behavior detections.
- Bundled installers: temporary unpacked DLLs under
%Temp%look unusual. - Tampering or corruption: altered signatures or mismatched versions raise alerts.
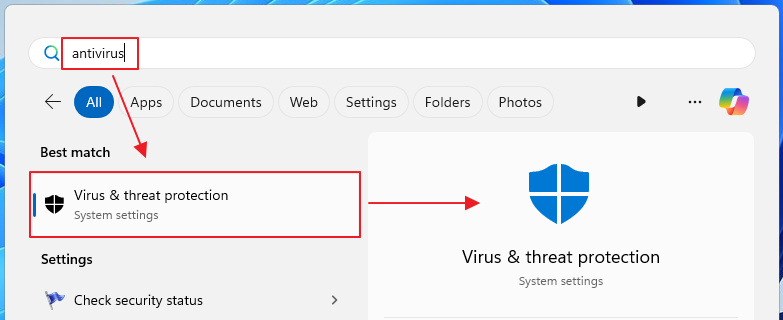
Open Windows Security
- Open Start → type Virus & threat protection and open it.
- Confirm definition updates are current (see Protection updates).
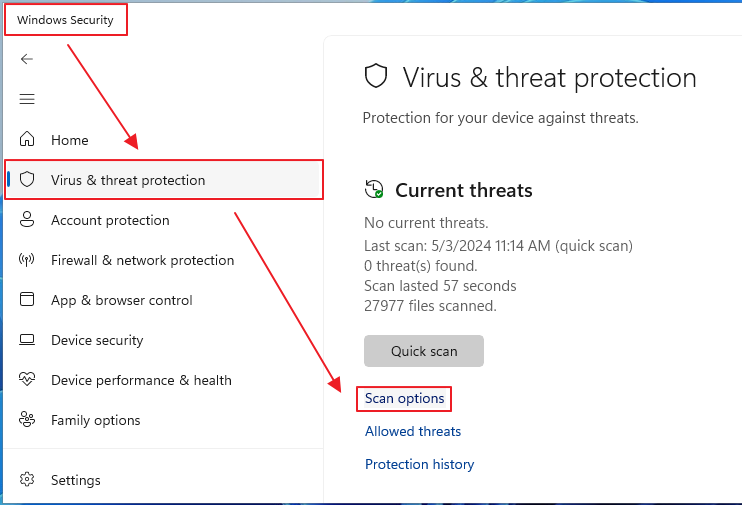
Run scans (Quick, Full, Offline)
- Click Scan options.
- Run a Quick scan first; follow with a Full scan.
- If threats persist or files are locked, use Microsoft Defender Offline scan (restarts into a trusted environment).
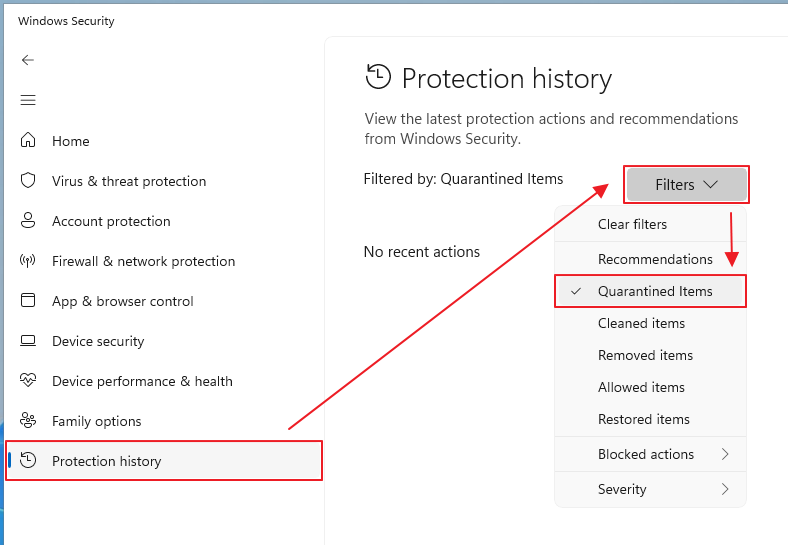
Review & restore from Quarantine
Inspect blocked items and restore only if you’ve verified they’re safe:
- Open Protection history.
- Filter to Quarantined/Blocked and check the DLL’s path and threat name.
- If legitimate, choose Allow on device or Restore after you validate the file.
Tip
If a DLL was blocked during an install/update, temporarily pause real-time protection, finish the install, then re-enable protection and run a scan.
Add a temporary exclusion (advanced)
Use exclusions sparingly and remove them when done.
- Go to Virus & threat protection settings → Manage settings → Exclusions → Add or remove exclusions.
- Click Add an exclusion → choose File (preferred) or Folder and select the DLL or installer folder.
- Complete the required action → remove the exclusion.